How to Self-Host Plausible Analytics: A Privacy-Friendly Web Analytics Tool
Discover how to self-host Plausible Analytics, a lightweight and privacy-friendly alternative to traditional analytics tools like Google Analytics. Follow this step-by-step guide to set it up on your own VPS and maintain full control over your data.

It's been a few days since I published my first article on this website and started wondering: "How do I know if people are actually reading my posts?" Like many, my first thought was to use a popular tool like Google Analytics. But as someone who values privacy, not only for myself but also for my readers, I quickly realized that traditional analytics tools come with significant trade-offs, especially when it comes to tracking cookies and data sharing.
Determined to find a solution that aligns with my privacy principles, I explored alternatives that respect user data and provide the insights I need without compromising on ethics. That’s when I discovered Plausible; a lightweight, open-source, and privacy-focused analytics platform. Even better, it can be self-hosted, allowing full control over the data.
In this article, I’ll walk you through the process of setting up Plausible Analytics on your own VPS server with Nginx as reverse-proxy, step by step. Whether you're a privacy-conscious blogger or someone looking for an alternative to traditional analytics, this article will help you get started.
Before moving forward
Self-hosting Plausible requires some technical skills, like managing servers and configuring DNS. If that feels daunting, consider Plausible's managed hosting directly from the creators; a hassle-free option that supports their open-source work. Just to be clear, I’m not paid to say this, I genuinely like their software and respect their privacy-first ethos.
That said, if you're ready to get hands-on and excited to self-host Plausible, let’s get started! 😀
Prerequisites
Before following along, you should have the following:
- A server with Ubuntu 24.04 installed
- Nginx is installed
- At least 2GB of RAM
- A domain name and access to its DNS settings
- Plausible will need a domain or subdomain to serve its analytics scripts and dashboards.
Point domain to server
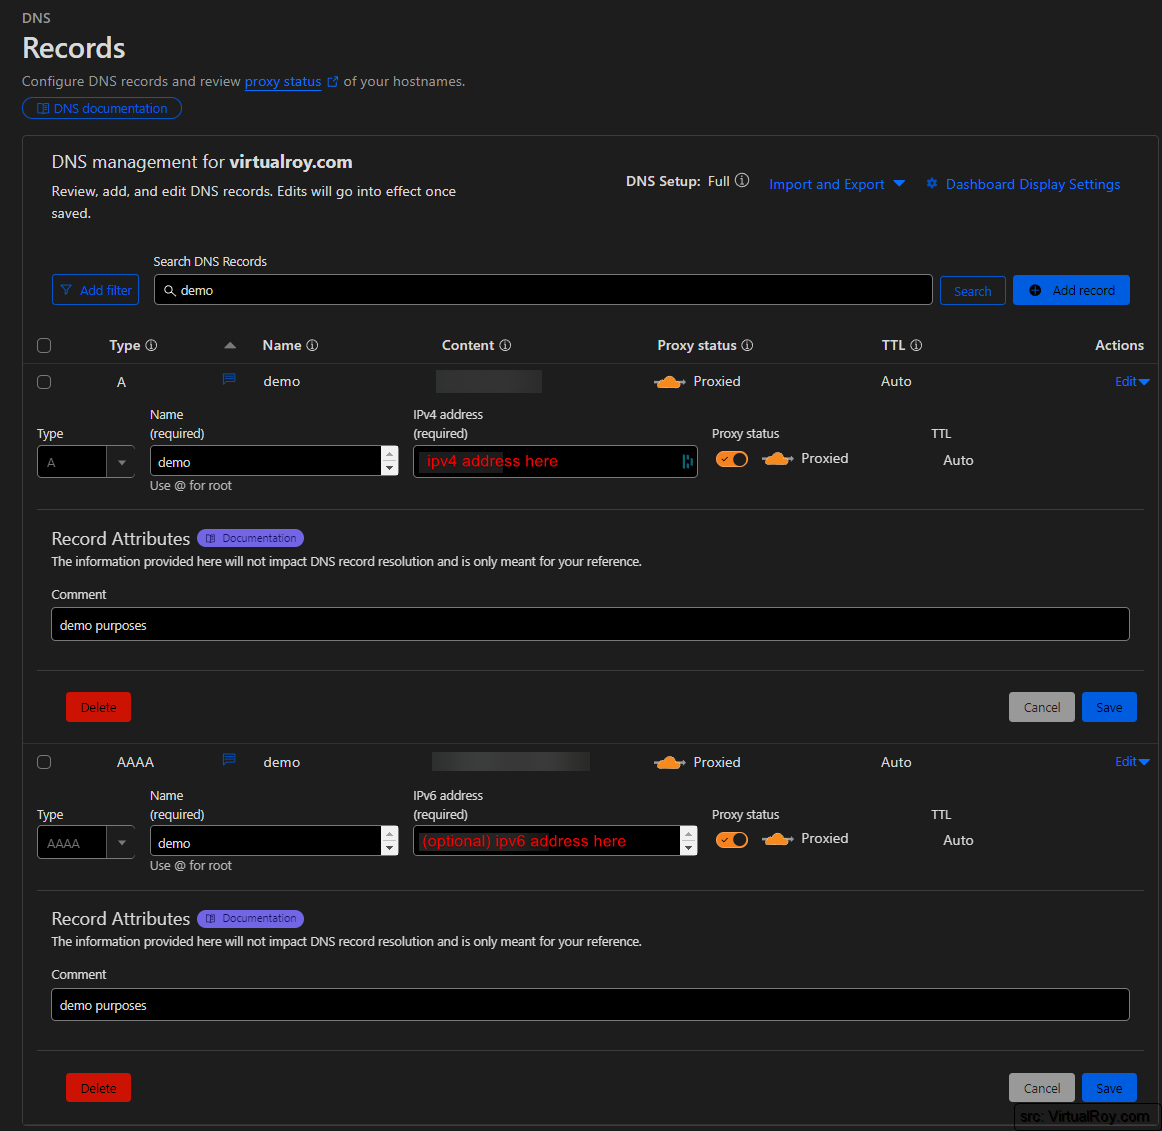
I'm hosting the Plausible software on my own server, so I'll need to point the (sub)domain to the ip-address of that server. Updating DNS servers might take some time, so I'm doing that first. Here I'm adding an A and AAA record to my demo.virtualroy.com domain. Below is an example from my view:
Installing Plausible
Next, I logged into my Ubuntu server via SSH, and prepared my server for installation.
Step 1: Prepare your server
Update your package list:
$ sudo apt updateIf Docker isn't already installed, install it:
$ sudo apt-get install docker.io -y
$ sudo systemctl enable docker

$ sudo apt-get install docker-compose -y
Step 2: Create a directory for Plausible
To keep things organized, let's create a dedicated folder where Plausible will live on your server and move to that directory:
$ sudo mkdir /opt/plausible
$ cd /opt/plausible/
Step 3: Clone the repository
For the next few steps, I basically followed the Quick start guide provided by the Plausible team:
Download latest version of Plausible Community Edition (Plausible-CE) and go into that directory:
$ git clone --single-branch https://github.com/plausible/community-edition plausible-ce
$ cd plausible-ce
Step 4: Create and configure environment file
First, we need to create the environment file (.env).
$ touch .envIn this environment file, we need to insert a few things:
1. BASE_URL: Should be set to the actual domain where you plan to host the service (in my case, "https://demo.virtualroy.com").
$ echo "BASE_URL=https://changethis.example.com" | sudo tee -a .env2. SECRET_KEY_BASE: Secret that can be generated using an Openssl command.
$ echo "SECRET_KEY_BASE=$(openssl rand -base64 48)" | sudo tee -a .env3. HTTP_PORT: This will be the port that's used internally and later by Nginx to proxy the traffic to. I used port 8001 since that port was not yet used on my server.
$ echo "HTTP_PORT=8001" | sudo tee -a .envNow that the environment file is set up, you can quickly double-check its contents by executing the cat command.
$ cat .env

Output:
BASE_URL=https://demo.virtualroy.com
SECRET_KEY_BASE=AL66eplewtL1Kog92X1RX4Ymm1PMQARLbIJoK/UCdxjIzIXDd84uIIEVw1YkloQt
HTTP_PORT=8001
Step 5: Configure compose.override.yml
Create and edit a file called "compose.override.yml" with nano
$ sudo nano compose.override.ymlPaste the following snippet below into the yml file and save the file.
services:
  plausible:
    ports:
      - 127.0.0.1:8001:8001
Step 6: Build and start the Plausible application with docker
$ sudo docker-compose up -dConfigure Nginx as reverse proxy
Let's create a new Nginx configuration file that I'll call plausiblesite.conf but you may call it whatever you'd like 😉.
$ sudo nano /etc/nginx/sites-available/plausiblesite.confPaste the following snippet into the newly created configuration file, and make sure to replace DOMAIN_NAME_HERE with the domain you've previously configured as BASE_URL. (e.g. if BASE_URL is "https://demo.virtualroy.com", then server_name will be "demo.virtualroy.com".
server {
    server_name DOMAIN_NAME_HERE;

    listen 80;
    listen [::]:80;

    location / {
        proxy_pass http://127.0.0.1:8001;
        proxy_set_header X-Forwarded-For $proxy_add_x_forwarded_for;
    }

    location = /live/websocket {
        proxy_pass http://127.0.0.1:8001;
        proxy_http_version 1.1;
        proxy_set_header Upgrade $http_upgrade;
        proxy_set_header Connection "Upgrade";
    }
}
Enable HTTPS with certbot
Step 1: Install Certbot
$ sudo apt install certbot python3-certbot-nginxStep 2: Obtain and configure SSL certificate
make sure to change "demo.virtualroy.com" to whatever your (sub)domain is.
$ sudo certbot --nginx -d demo.virtualroy.comStep 3: Test certificate renewal
$ sudo certbot renew --dry-runEnable and test your configuration
Create a symbolic link for your configuration file (this makes your plausiblesite.conf file active):
$ sudo ln -s /etc/nginx/sites-available/plausiblesite.conf /etc/nginx/sites-enabled/Test your nginx configuration:
$ sudo nginx -tIf everything's correct, reload Nginx:
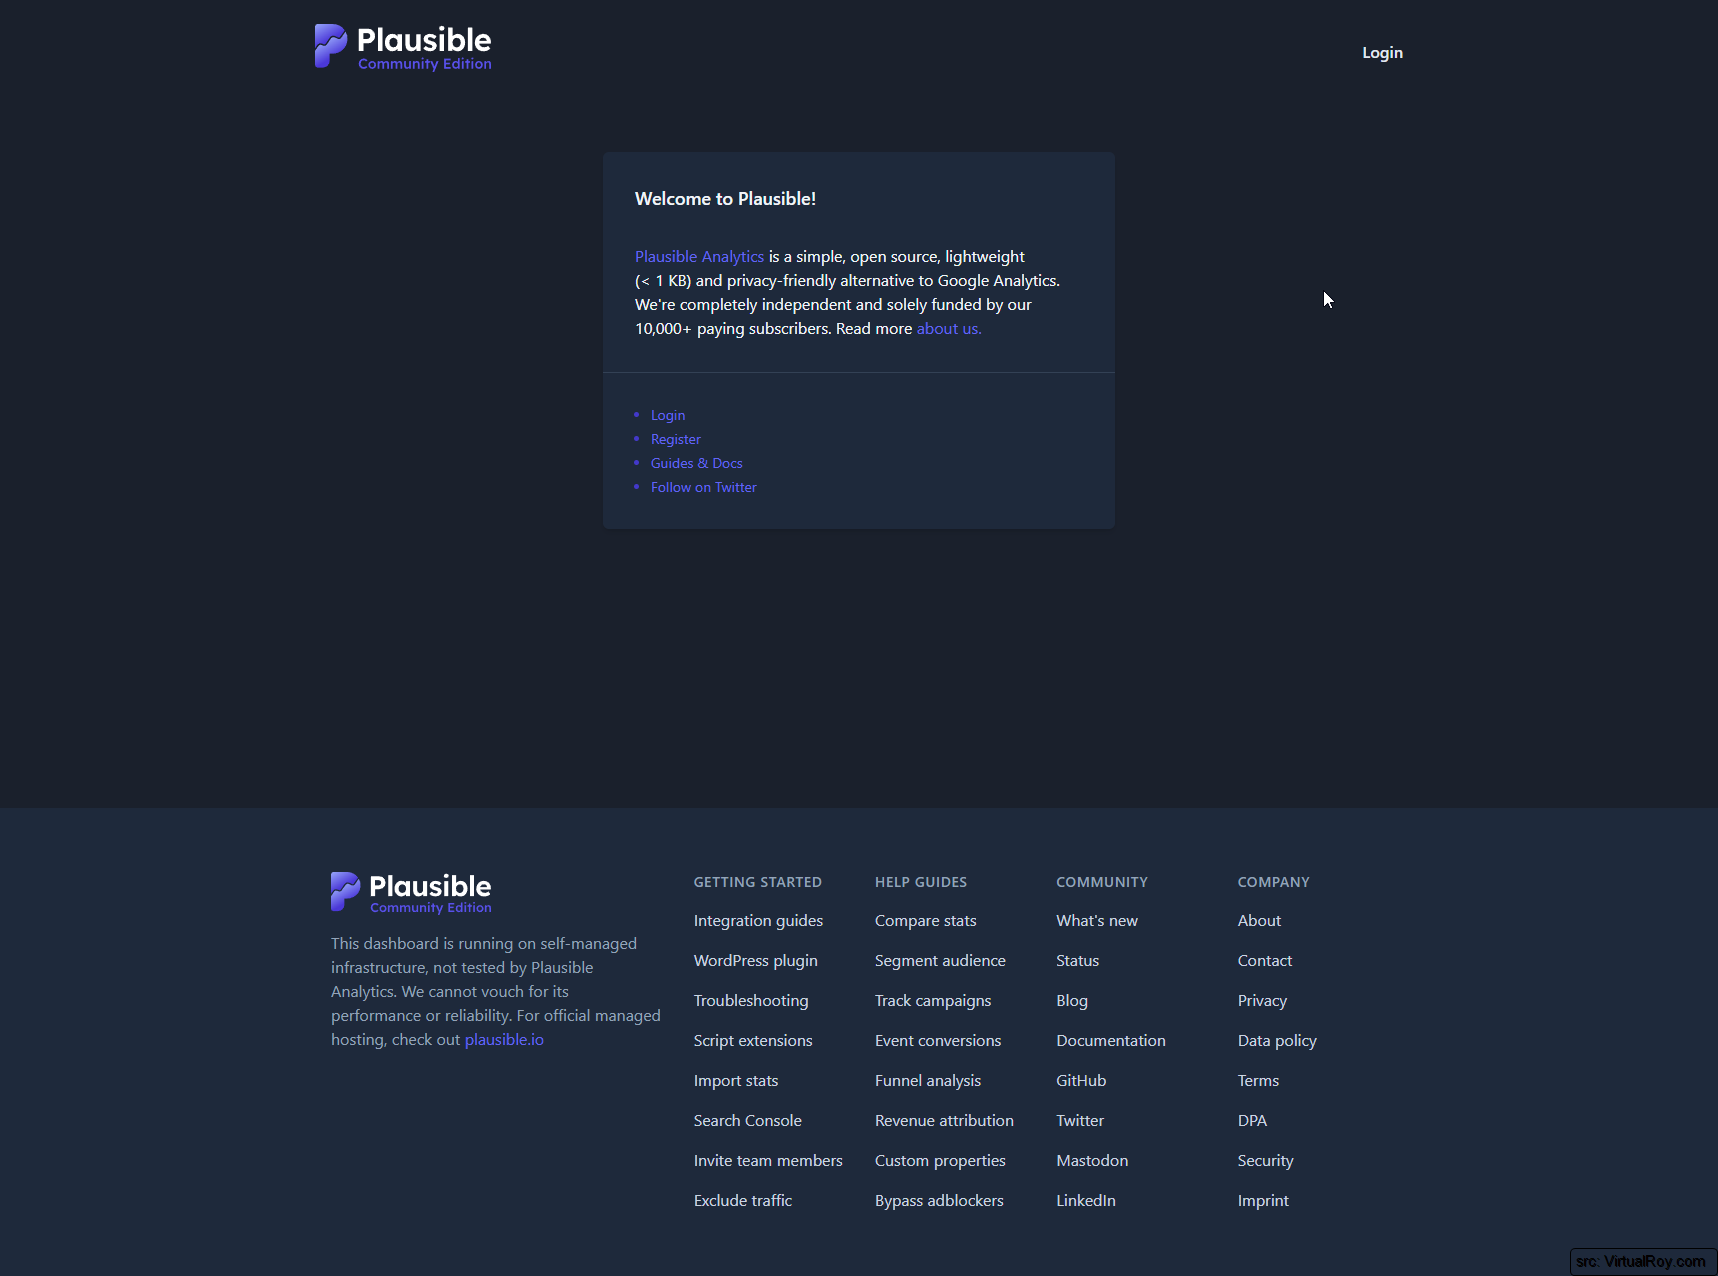
$ sudo systemctl reload nginxNo errors? You're ready to test! Visit your domain at BASE_URL. In my case https://demo.virtualroy.com (not active anymore):
Final thoughts 😊
That should be it! For virtualroy.com, web analytics will remain privacy-friendly and completely cookie-free, thanks to Plausible. I have also updated my Privacy Policy to reflect these changes.
With that out of the way, thank you for reading all the way through. It's been fun sharing my insights and truly hope you found this article useful. If you have any questions or tips, please feel free to leave a comment below this post.